Cutting the necklines of t-shirts is extremely easy, and anyone can do it. Sewing isn't required, but I prefer to sew the necklines up afterwards to prevent fraying in the wash. Alternatively, stretching the neckline right after cutting causes the fabric to curl under and give it that "intentionally messy" look. This can also prevent fraying.
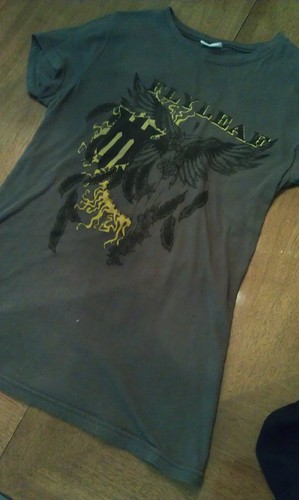
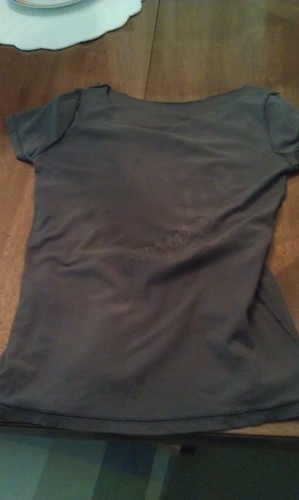
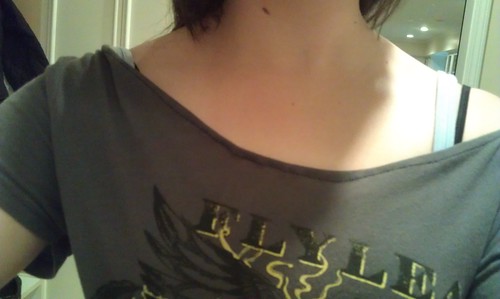
In this tutorial, I will be using my old Flyleaf t-shirt as shown in the picture at the right. Please note that this method does not work well with certain fabrics, but standard cotton t-shirts should be fine.
You Will Need...
A t-shirt. (Shown above)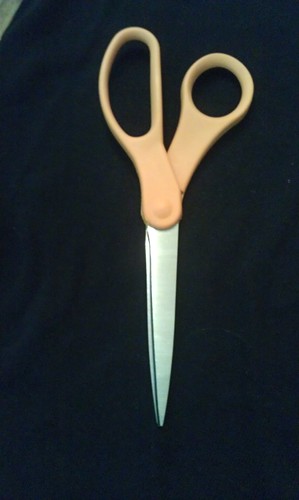 |
| A pair of working scissors |
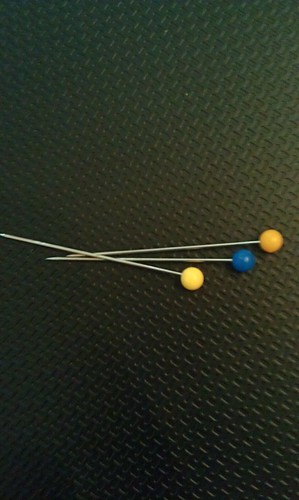 |
| Pins (optional, to be used if sewing) |
 |
| A sewing machine (optional) |
Step One
Preparing the Shirt
Make sure the t-shirt is on a completely flattened surface. A table, large desk, or even a hard floor are sufficient. Ensure that the seams on the shirt are lined up and that it is lying completely flat, or else your cuts might not be accurate.
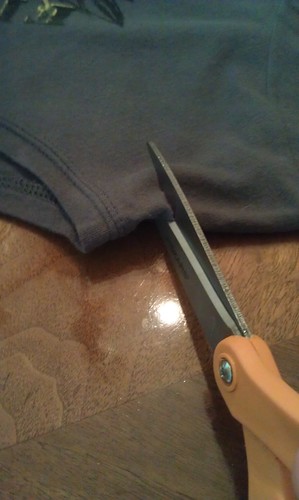
Step Two
Beginning to Cut
Step Three
Cutting to the Center
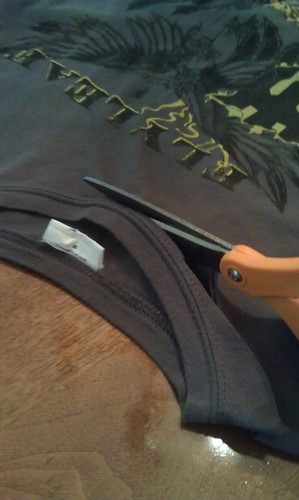
Make your way to the center with the scissors, trying to make your cuts as accurate as possible. I don't cut my shirts an inch from the neckline all the way around. Instead, I try to get my scissors closer to the neckline when I reach the center, as shown in the picture above. That's just my personal method, though. It's fun to experiment with different styles, so don't be afraid to try something unique.
Step Four
Cutting the Other Side
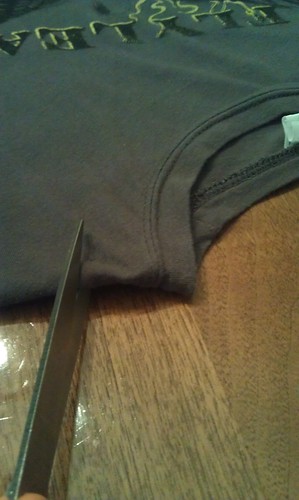
When you reach the middle, stop and go to the other side. Start about an inch from the neckline, and repeat what you just did in the last two steps so you meet your first cut in the center.
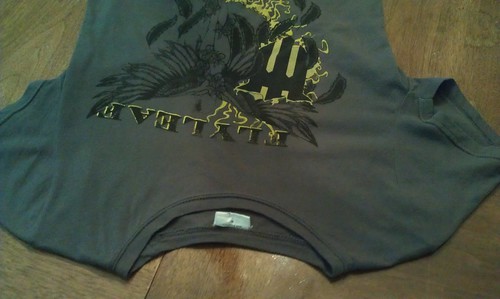
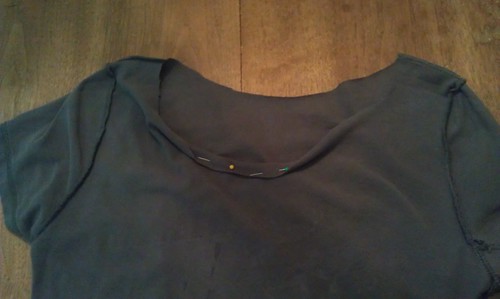
Now, your shirt should look something like this.
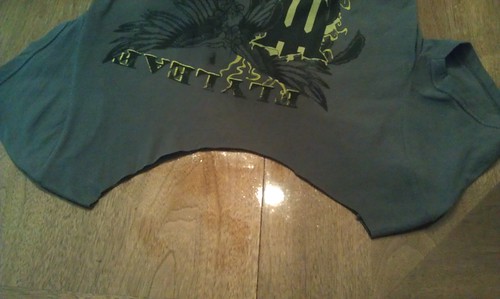
If your shirt doesn't look even, don't worry! Just take a little off gradually with the scissors until you like the way it looks.
If you aren't going to sew your neckline, all you have to do now is stretch out the fabric near the neckline to make it curl under, and then you're done. If you want to sew it, keep reading.
Step Five
Preparing to Pin
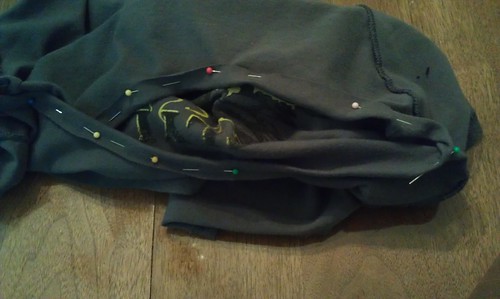
Turn your t-shirt inside out. This will make it easier to pin and sew.
Step Six
Pinning the Neckline
With your shirt still inside out, begin turning the neckline under about half an inch to an inch, and pin it to secure it. Pinning isn't necessarily required, but it makes sewing much easier and it helps to ensure that your neckline is as even as possible. Continue to pin the neckline in this fashion all the way around the shirt. Check to make sure that it looks good and is fairly even.
Step Seven
Sewing the Neckline
I am not by any means an expert seamstress, so I don't have much advice to give when it comes to sewing. Just make sure that even though your shirt is inside out, you are sewing the top part of the stitch (the pretty side) on the front of the shirt. Pick a stitch on your sewing machine that works well with the fabric you're sewing. Try to match the color of your thread with the color of your shirt. I didn't have any dark gray thread while I was making this tutorial, so I had to settle for black. You don't have to match the color if the clash doesn't bother you, but mistakes are easier to hide if the thread matches the fabric.
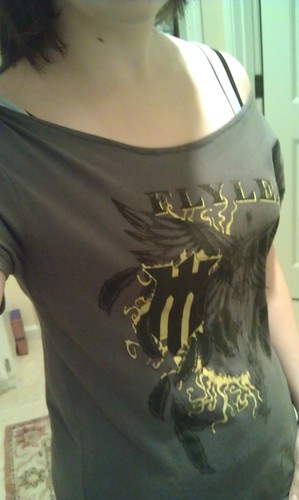
Here are some pictures of the finished product. Please disregard my mediocre sewing.
I hope you enjoyed this, and thanks so much for reading! :3


0 comments:
Post a Comment