CLICK HERE FOR BLOGGER TEMPLATES AND MYSPACE LAYOUTS »
Showing posts with label Tutorials. Show all posts

Sunday, 24 June 2012

Tutorial: How to Cut Band T-Shirt Necklines

All right. I'll be brutally honest when I say that I hate crew necklines on t-shirts or just women's shirts in general. It doesn't look flattering to me, or more importantly, on me. However, I have a genuine love for music, and it seems like most music-related shirts these days have crew necklines. Therefore, I decided to start modifying my shirts.

Cutting the necklines of t-shirts is extremely easy, and anyone can do it. Sewing isn't required, but I prefer to sew the necklines up afterwards to prevent fraying in the wash. Alternatively, stretching the neckline right after cutting causes the fabric to curl under and give it that "intentionally messy" look. This can also prevent fraying.

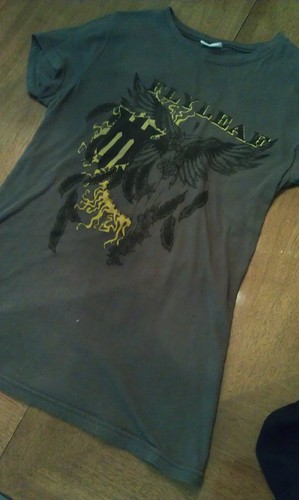
In this tutorial, I will be using my old Flyleaf t-shirt as shown in the picture at the right. Please note that this method does not work well with certain fabrics, but standard cotton t-shirts should be fine.


You Will Need...

A t-shirt. (Shown above)
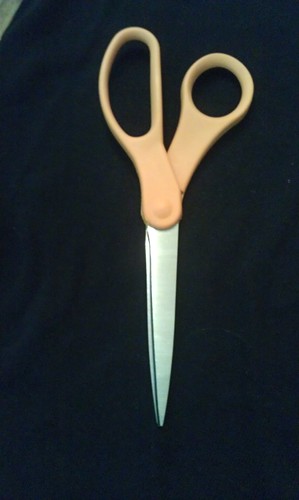

A pair of working scissors
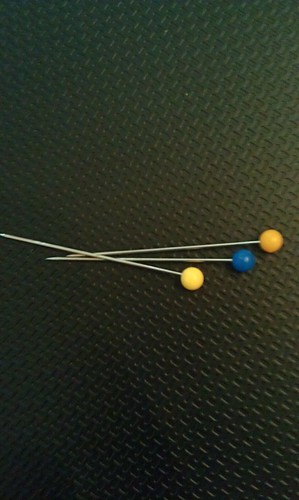
Pins (optional, to be used if sewing)


A sewing machine (optional)


Step One

Preparing the Shirt


Make sure the t-shirt is on a completely flattened surface. A table, large desk, or even a hard floor are sufficient. Ensure that the seams on the shirt are lined up and that it is lying completely flat, or else your cuts might not be accurate.


Step Two

Beginning to Cut
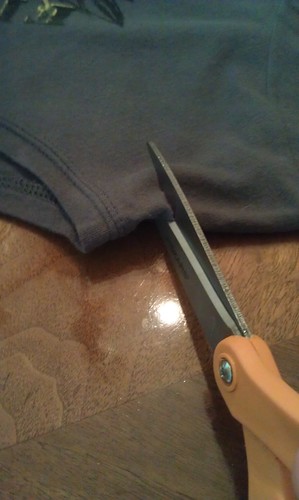


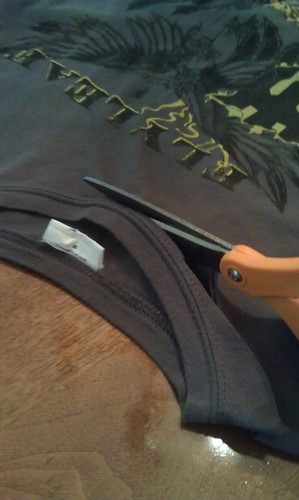
Begin cutting about an inch from the neckline. Using this measurement will create an off-the-shoulder style shirt. If you want it to cover more skin, then you can start closer to the neckline. Take your time when deciding how much to cut. Adding fabric back to a shirt is much more difficult than taking more off.


Step Three

Cutting to the Center


Make your way to the center with the scissors, trying to make your cuts as accurate as possible. I don't cut my shirts an inch from the neckline all the way around. Instead, I try to get my scissors closer to the neckline when I reach the center, as shown in the picture above. That's just my personal method, though. It's fun to experiment with different styles, so don't be afraid to try something unique.

Step Four

Cutting the Other Side
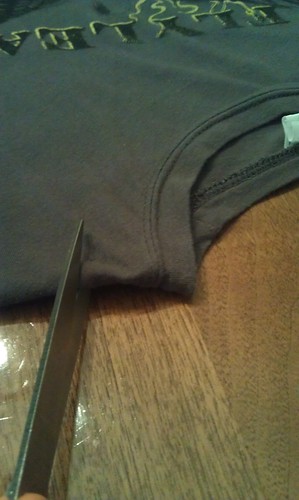

When you reach the middle, stop and go to the other side. Start about an inch from the neckline, and repeat what you just did in the last two steps so you meet your first cut in the center. 


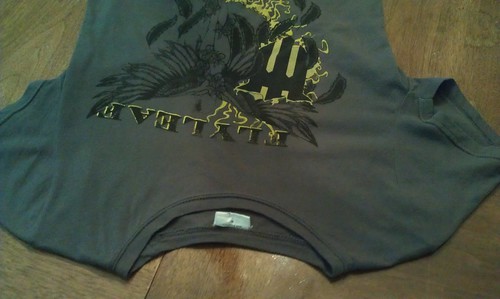
Now, your shirt should look something like this.
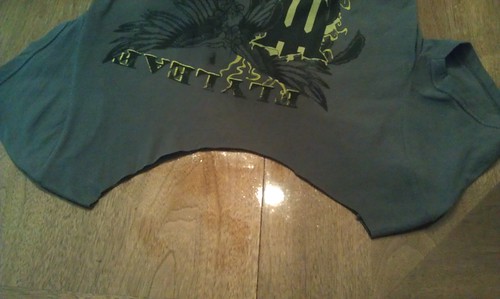

 If your shirt doesn't look even, don't worry! Just take a little off gradually with the scissors until you like the way it looks.

If you aren't going to sew your neckline, all you have to do now is stretch out the fabric near the neckline to make it curl under, and then you're done. If you want to sew it, keep reading.

Step Five

Preparing to Pin
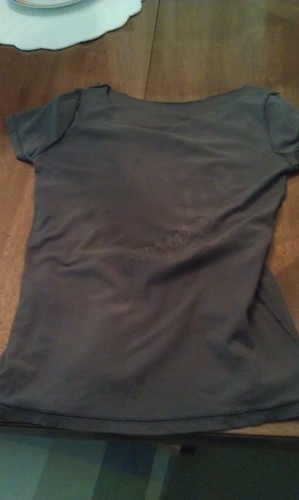

Turn your t-shirt inside out. This will make it easier to pin and sew.

Step Six

Pinning the Neckline


With your shirt still inside out, begin turning the neckline under about half an inch to an inch, and pin it to secure it. Pinning isn't necessarily required, but it makes sewing much easier and it helps to ensure that your neckline is as even as possible. Continue to pin the neckline in this fashion all the way around the shirt. Check to make sure that it looks good and is fairly even.

Step Seven

Sewing the Neckline
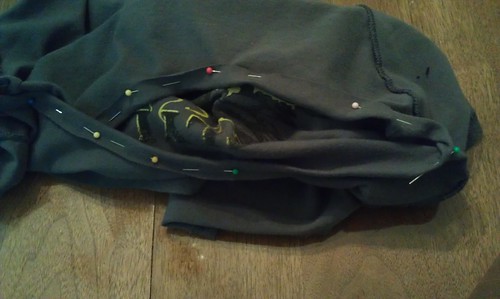


I am not by any means an expert seamstress, so I don't have much advice to give when it comes to sewing. Just make sure that even though your shirt is inside out, you are sewing the top part of the stitch (the pretty side) on the front of the shirt. Pick a stitch on your sewing machine that works well with the fabric you're sewing. Try to match the color of your thread with the color of your shirt. I didn't have any dark gray thread while I was making this tutorial, so I had to settle for black. You don't have to match the color if the clash doesn't bother you, but mistakes are easier to hide if the thread matches the fabric.


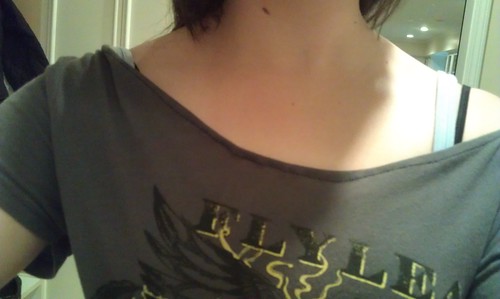
Here are some pictures of the finished product. Please disregard my mediocre sewing.



I hope you enjoyed this, and thanks so much for reading! :3
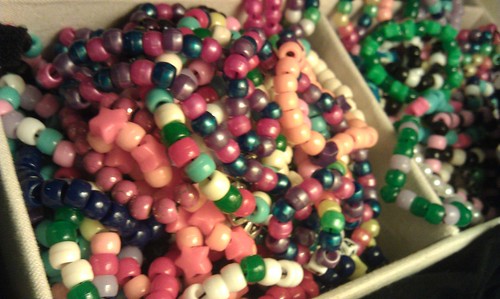

Tutorial: How to Make a 2D Kandi Star


Kandi is a sentimental piece of jewelry to be traded or given away at parties or raves. People who do not understand the subculture involved with kandi often view it as silly, rainbow-colored jewelry that scene kids wear. In fact, it is quite the contrary. Kandi is like a tangible memory. It represents the person who gave it to you and the fun times you had the night you received it. It is to be valued, respected, and loved.

I just wanted to clear that up, for those who don't know what kandi is. Sorry for rambling. I'll start the tutorial now.


You will need...


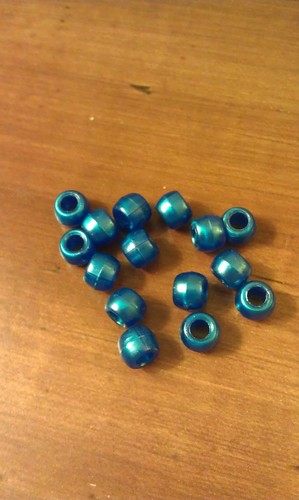
15 beads of one color
(Preferably pony beads,
used to make the points
on the star)
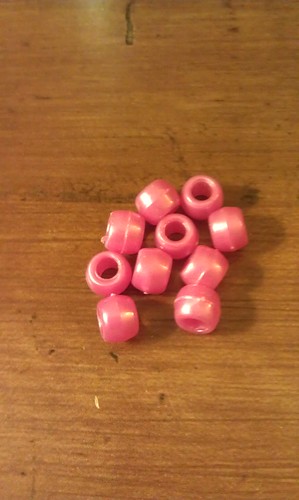
10 beads of another color
(Preferably pony beads,
used to make the center
of the star)


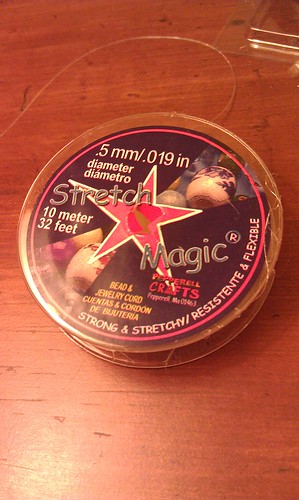
Stretchy string
(Preferably a whole
roll)


Step One

Making the Base


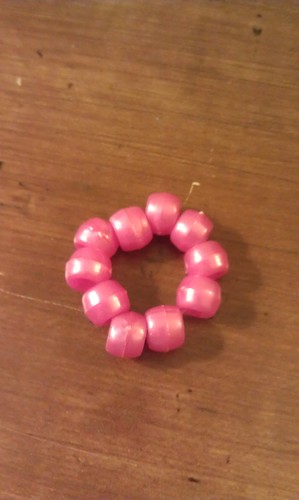
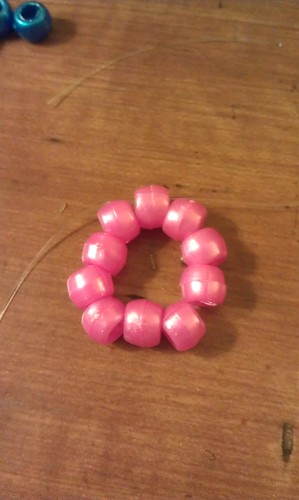
Take your roll of stretchy string and pull out a significant piece, but do not cut it. Leave it on the roll. String your 10 center beads (pink) onto the string. Tie the two ends of the string together to make a circle. It should look like the picture above, similar to a kandi single bracelet, but much smaller. Cut the remaining ends of the string off.


Step Two

Stringing Through the First Bead


Pull out another significant piece of string from the roll, and once again, don't cut it. Slide one end of the string through a bead of your choice on the circle. Make sure you are only stringing through one bead.


Step Three

Preparing the First Point


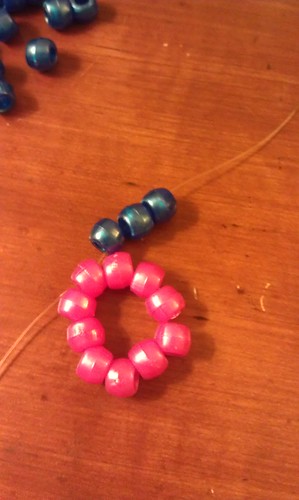
String three of your point beads (blue) onto the open end of the string, with the open end of the string still through the initial center bead.


Step Four

Making the First Point


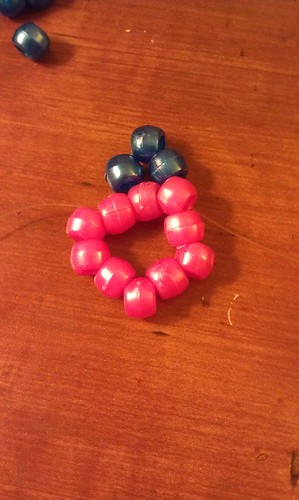
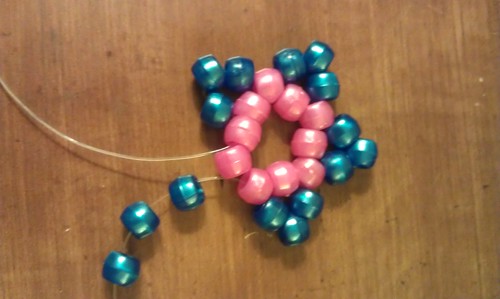
Skip a bead after the initial center bead and slide your string through the third center bead in whichever direction you choose. As you can see in my picture, I went clockwise, but it doesn't make a difference either way. Pull the string tight, and your star should resemble the picture above. If it doesn't, go back and check to make sure you strung through the third bead instead of the second or the fourth. This is very important.


 Step Five

Repeat!


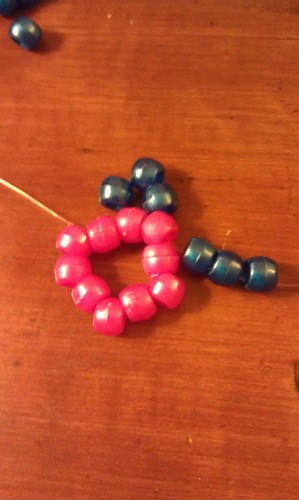
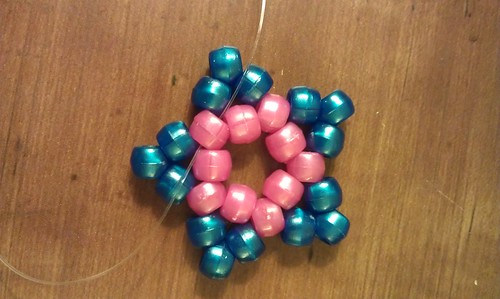
 Repeat steps three and four until you have four points on the star, making sure to skip a bead each time you string a new point. If it starts to look funny, go back and check your work for mistakes to save time later.


Now, your star should look something like this...


 Step Six

Completing the Star


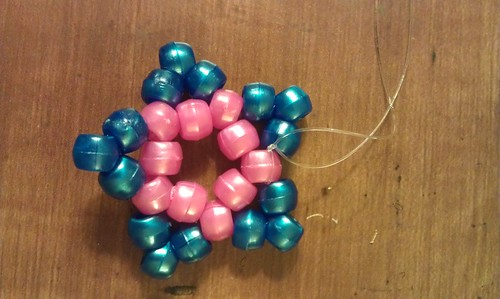
The last bead might be somewhat difficult to string through if you have two loose ends of string. However, you shouldn't disrupt your star if one of your ends is still on the roll. The key is to slide your working end of string through the final bead, where the two ends of string should cross. Once you do that, your star should look like the picture above. If it doesn't, go back and check your work.


Step Seven

Tying the Knot


If one of the ends of your string is still on the roll, cut it at a place that will leave enough string for you to tie a knot. Then, take both loose ends of your string, and knot it extremely tightly. I recommend knotting it several times to make sure it doesn't come undone. Cut any remaining ends of the tied string, and you're done!


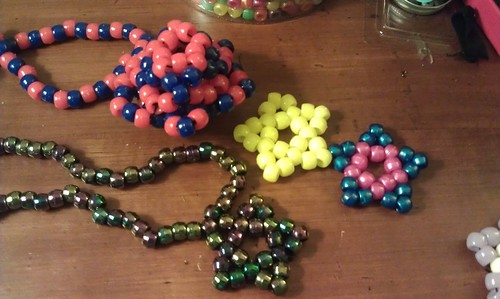
There are endless possibilities when it comes kandi stars and kandi in general. As you can see in the picture above, you can easily string a kandi star onto a necklace. You can also glue it to headbands, hair clips, keychains, or anything you like! The monstrous-looking thing in the upper left corner of the picture is a 3D kandi star, which I might make a tutorial on in the future. I personally prefer the 2D stars, but the 3D ones are super cool as well.

I hope this tutorial worked for you, and thanks so much for reading!